Art Binninger's STAR TRIX: Of Clay And Cardboard

5.The Second Time Around: STAR TRIX II
Home | 1. Pre-Trix: Getting from There to Here | 1a. Tom Vs. Joe La Rita Filmography 1970-1972 | Tom Vs. Joe La Rita Episodes 9 - 16 | Tom Vs. Joe La Rita 17 - 24 | 2. Airman Art | 3. A Starship Is Born | 4. The Changing Scene | 5.The Second Time Around: STAR TRIX II | 6. Up In Smoke: STAR TRIX III | 7. Out of Uniform, Into the World | 8. The New Trek Begins | 9. Sidetracked and SMEGed | 10. Building Sets And Momentum | 10a Sliding Into Space | 11. Lights! Camera! Stop-Action! | 12. Kitchen Counter Cinema | 13. STAR TRIX: THE FLICK | 14. STAR TRIX: THE FLICK Reel 2 | 15. Silly Art, TRIX Are For Lawyers | 16. Moving On | 17. ESCAPE FROM VEGAPINTO | About Me | Favorite Links | Contact Me
Klepton-mania

startrix2intruder.jpeg

   During the shooting of STAR TRIX II, I noticed that the Yashica's single frame capability was giving me trouble. STAR TRIX wasn't the only animation I was doing at the time. I also tried cel animation and other clay animated shorts which included THE SPRITZER FAMILY and ORDINARYMAN. The cost of acetate cels was a bit too pricey for me so I limited my cel animation to title sequences. Even then, I would clean the painted cels after they were photographed and reuse them. Instead of using the cel-vinyl paints that the industry worked with, I painted my cels with the enamel model car colors available at hobby shops. They were stubborn to remove when I tried to clean the cels so I used the extremely toxic film cleaner from Kodak. This substance was removed from the market years ago because of its hazardous fumes. And you-know-who spent many hours in close proximity to it cleaning cels.
   Eventually, I had one of the camera repairmen take a look at the Yashica. A small spring governing the single frame mechanism had broken, causing the camera to fire off more than one frame at a time. I reshot some of the more glaring problems and finished the film. There's still some slight strobing in a few scenes that were left in.
Mike Howard gives a Vulcan salute.
mikehoward01.jpeg
   The viewscreen shots were a bit tricky since I opted for shooting them live on the set. I first filmed the image to appear on the screen and projected it from the rear onto the frosted acetate built into the set. Since the Super 8 projectors lamp wasn't as intense as the movie lamp that illuminated the bridge, I had to mess around with bouncing the light in such a way as to not wash out the projection. The Yashica had no manual override on the exposure so it would automatically close down if any part of the scene was too bright. The resulting images weren't especially pleasing but that's all we could do at the time. This process was refined years later for STAR TRIX: THE FLICK.
   As I became more experienced with animating and recording voices, more dialogue was incorporated into the scripts. There weren't any records available with the STAR TREK music at this time so I incorporated George Martin's orchestra pieces from the Beatles YELLOW SUBMARINE album as well as more cuts from Neil Diamond's JONATHAN LIVINGSTON SEAGULL.

startrix2afaceslap.jpeg
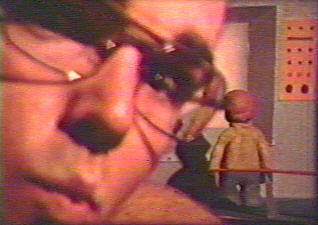
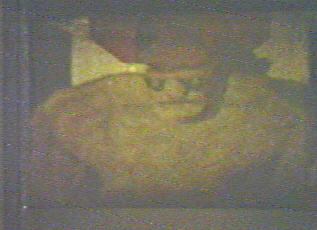
Lt. Alluring slaps Mr. Pastafazoola for his crude wolf whistle. Yeoman Yohnson takes a shot at him also.
startrix2bcowalskilaugh.jpeg
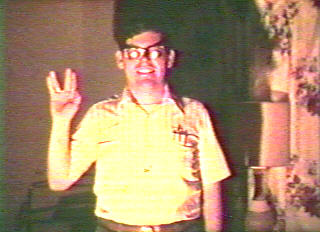
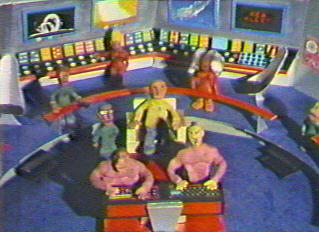
Mr. Cowalski laughs at his buddy's predicament as the captain arrives.
startrix2cbridgeemergency.jpeg
Returning to the bridge, Klurk discovers a menace in the making.

startrix2dklingonsinthehood.jpeg

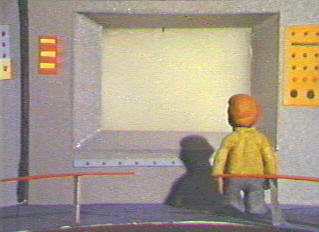
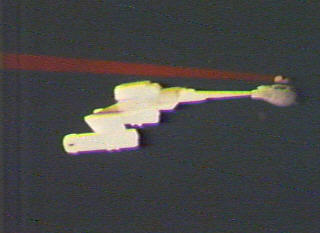
A Klingon ship headed for them.
startrix2fatitlealltheirown.jpeg
A title sequence all their own.
startrix2gsnatchtitle.jpeg
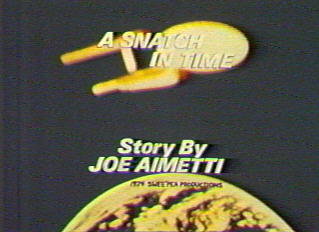
Story title composite of frame enlargement and dry transfer letters on a cel.
startrix2h1specksinquiry.jpeg
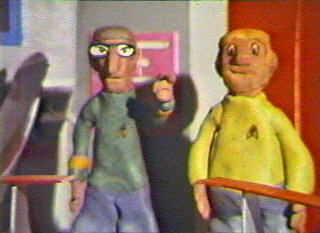
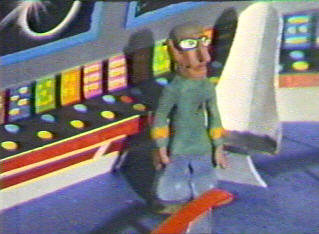
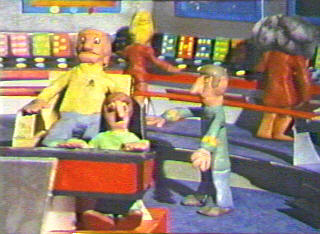
Specks asks the captain what to do.
startrix2isuperthieves.jpeg
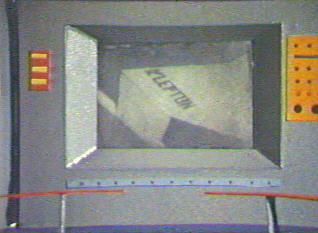
The Klingon ship has been stolen by the Kleptons, a race of super thieves.
startrix2jsternospeaks.jpeg
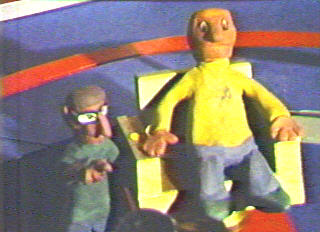
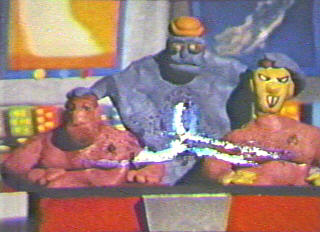
Sterno the boss issues his demands.
startrix2ksidebyside.jpeg
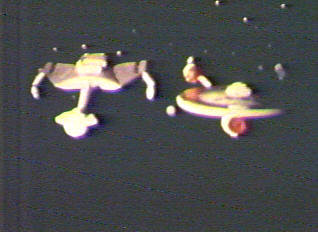
The two starships run side by side.
startrix2lrudeawakening.jpeg
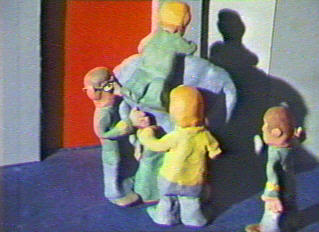
A Klepton sneaks aboard and kidnaps Pastafazoola and Cowalski.
startrix2mcaptseeshostages.jpeg
Klurk discovers that his men are now aboard the Klepton ship.
startrix2nspeakforyourself.jpeg
The crew begs to differ when Klurk tells Sterno that his officers are trained to accept hardships.
startrix2ocowalskisplan.jpeg
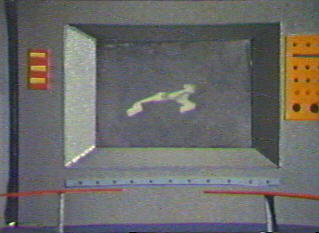
Mr. Scotch devises a plan to track the intruding Klepton.
startrix2prestrainingtheklepton.jpeg
The Captain and crew try to subdue the marauder so Magillacuddy can sedate him.
startrix2qmagillacuddyambush.jpeg
Dr. Magillacuddy ambushes the Klepton and delivers the sedative.
startrix2rpreparingtogloat.jpeg
Klurk prepares to gloat to Sterno about the capture.
startrix2salluringcaught.jpeg
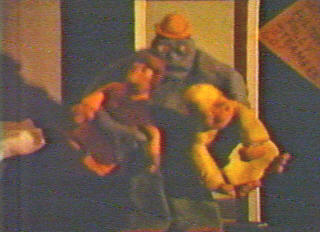
Having escaped confinement, Sterno's henchman begins kidnapping the bridge crew.
startrix2tkleptonbeamout.jpeg
The Klepton beams out with Mr. Dumpsky and Mr. Chek.
startrix2ucrewunderguard.jpeg
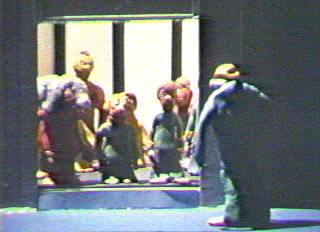
The bridge crew are held captive aboard the Klepton ship.
startrix2wgrouptransport.jpeg
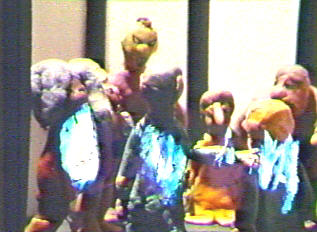
The crew beam out of the Klepton brig. This was a redress of the transporter room set.
startrix2xdirecthit.jpeg
A phaser strike on the Klepton bridge stops the thieves in their tracks.
startrix2ykleptonsexiled.jpeg
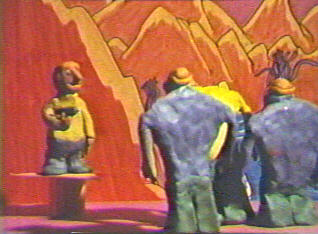
Klurk exiles the Kleptons to a desolate (though colorful) planet.

startrix2zspecksrobbedblind.jpeg

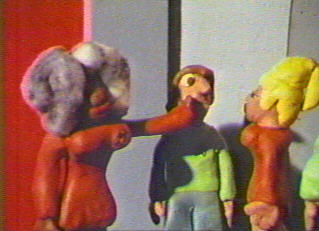
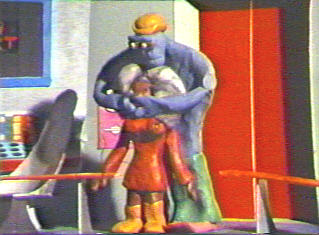
Robbed blind! Specks glasses have been stolen by the Kleptons.

Click Here to see Star Trix II